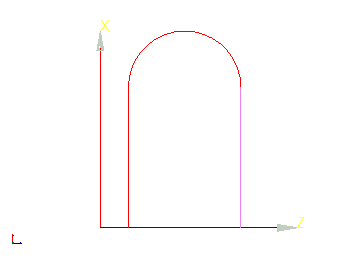
The 2D Sketcher allows drawing arbitrary 2D shapes.
To create a 2D Sketch select in the main menu New Entity -> Basic -> 2D Sketch.
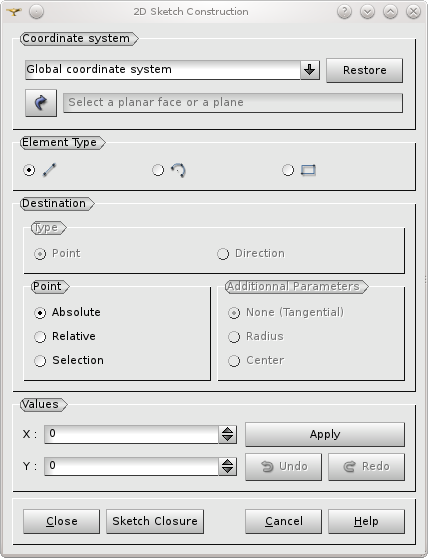
At first it is necessary to define the reference coordinate system, where the sketch will be created:
- The XOY plane of the Global coordinate system is suggested by default (if no plane or planar face is selected when 2D Sketcher is activated).
- If any Local Coordinate Systems have been created in the study earlier, they can be selected as a reference coordinate system in the corresponding list box.
- The Arrow button allows selecting a plane or a planar face in the viewer or in the object browser as the reference coordinate system for the sketch. The start point will be set in the geometric center of the face.
- Restore button orientates the viewer correspondingly to the chosen working plane and fits the scene to show all objects.
It is possible to create sketches of two types:
- Profiles made of line segments and arcs, or
- Rectangles.
Creation of a Profile by straight segments
- Choose segment radio button to start a profile.
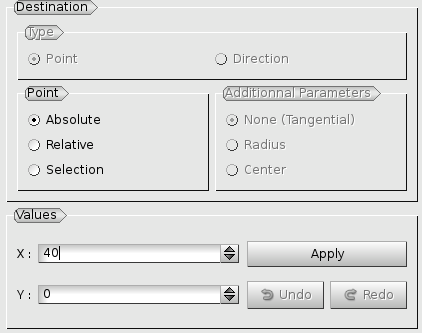
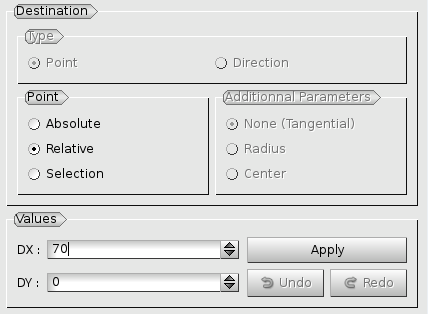
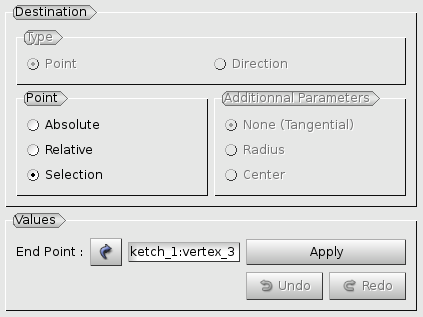
- Define the next point. Together these two points form the first segment of the sketch.
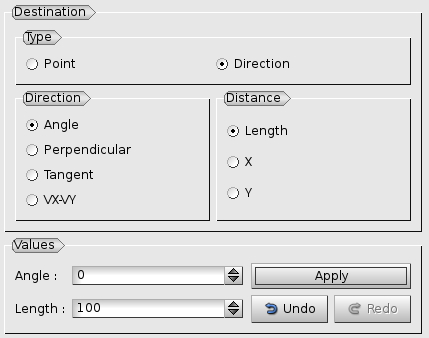
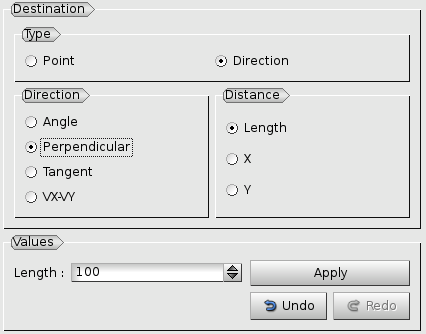
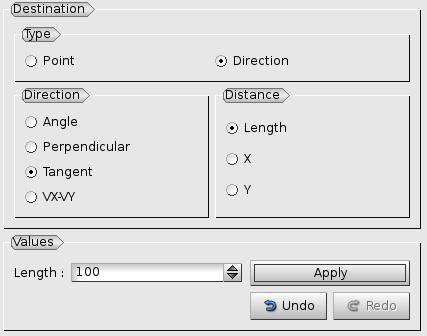
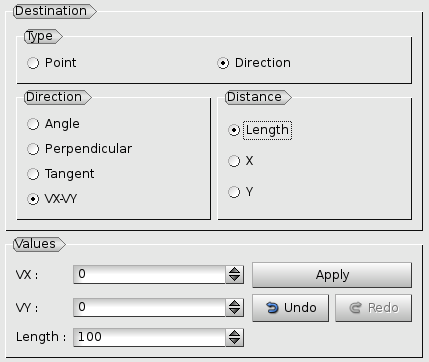
Alternatively to the definition by Points it is possible to define segments by Direction and Distance.
The Direction can be:
- Defined by an Angle to the previous segment.
- Perpendicular to the previous segment (i.e. the Angle is 90 degrees).
- Tangent (collinear) to the previous segment (i.e. the Angle is 0 degrees).
- Defined by VX-VY vector coordinates.
- Proceed with creation of the sketch segments and click Apply after each step. The drawn segments will be displayed in the viewer.
- Use Undo and Redo buttons to cancel an erroneously applied segment or to restore it.
- To finalize, click "Close" button to apply the created wire "as is".
- Alternatively, click "Sketch Closure" to close the Sketch by a straight line from the last created segment to the start point and apply it.
Creation of a Profile by ark segments
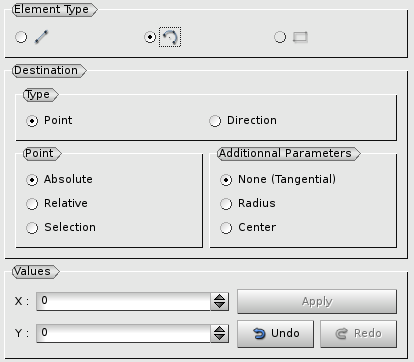
If an ark radio button is chosen, Point or Direction define the location of the next point of the sketch, but this point and the previous one are connected by an ark segment.
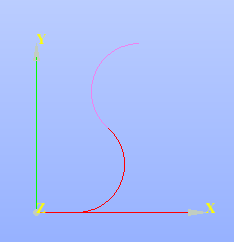
Ark segments
- By default, None (Tangential) radio button is selected as Additional Parameter, and the arc is tangential to the end of the sketch, which means that it is created on two points as a half-circle with radius equal to a half of the distance between these points.
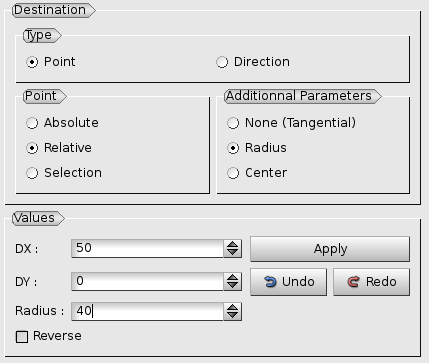
- Radius radio-button allows creating a more limited arc segment by defining a custom ark radius, which must be greater than half of the distance between the last point and the end point of the arc.
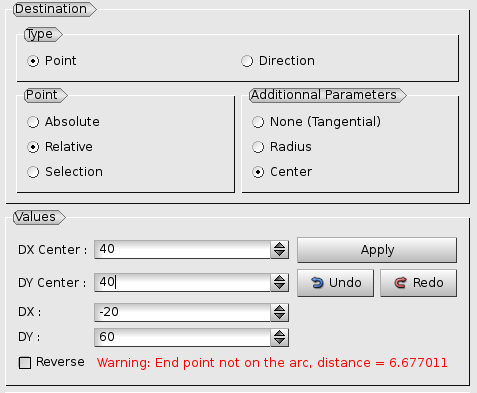
- Finally, Center radio-button allows explicitly defining the center of the circle. If an arc segment cannot be built on the defined points, a warning is shown.
Creation of a Rectangle profile
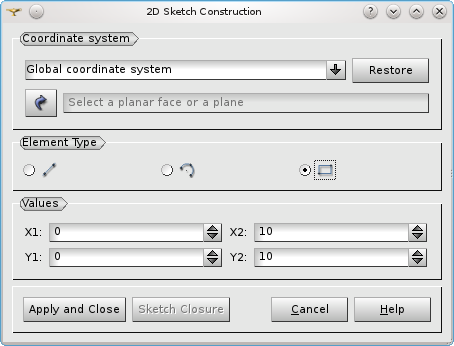
To draw a rectangle, select a rectangle radio button.
Draw a rectangle with the mouse directly in the view or input the coordinates of its two opposite vertices in the dialog.
TUI Commands
geompy.MakeSketcherOnPlane(Command, WorkingPlane)
This algorithm creates a sketcher (wire or face), following the textual description, passed through the Command argument. The edges of the resulting wire or face will be arcs of circles and/or linear segments.
- Command is a string, defining the sketcher by the coordinates of points in the current LCS.
- WorkingPlane can be a Local CS, a plane, or a planar face.
Another way to create the 2D Sketcher in TUI is using Sketcher2D interface.
sk = geompy.Sketcher2D() - returns an instance of Sketcher2D interface sk.
See the Sketcher2D interface documentation for more information.
Our TUI Scripts provide you with useful examples of the use of 2D Sketcher.
