Version: 8.3.0
In SMESH you can sew elements of a mesh. The current functionality allows you to sew:

To sew elements of a mesh:
This functionality allows you to unite free borders of a 2D mesh.
There are two working modes: Automatic and Manual. In the Automatic mode, the program finds free borders coincident within the specified tolerance and sews them. Optionally it is possible to visually check and correct if necessary the found free borders before sewing.
In the Manual mode you are to define borders to sew by picking three nodes of each of two borders.
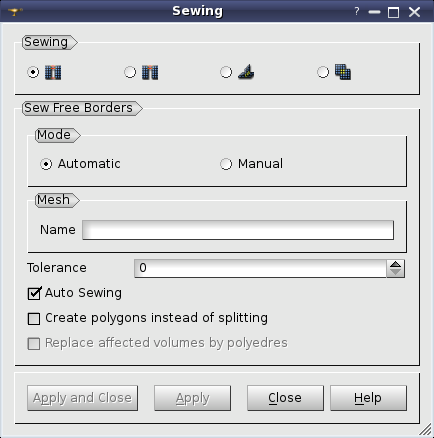
To use Automatic sewing:
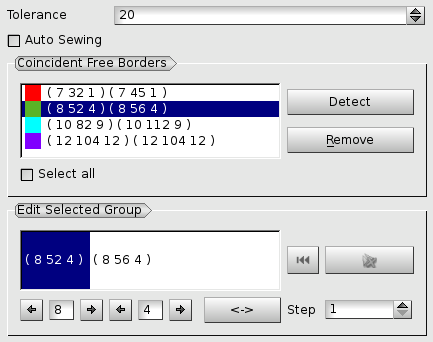
To visually check the coincident free borders found by the algorithm, switch off Auto Sewing check-box. The controls to adjust groups of coincident free borders will become available in the dialog.


For sewing free borders manually you should switch the Mode to Manual and define three points on each border: the first, the second and the last node:
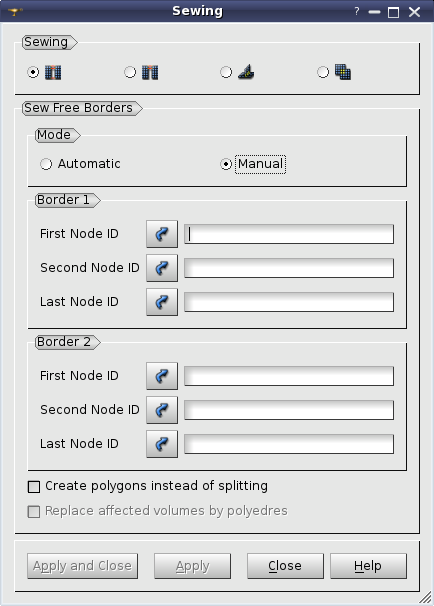
You can select these nodes in the 3D viewer or define by its id.
The first and the second nodes should belong to the same link of a face. The second and the last nodes of a border can be the same. The first and the last nodes of two borders can be the same. The corresponding end nodes of two borders will be merged. Intermediate nodes of two borders will be either merged or inserted into faces of the opposite border.
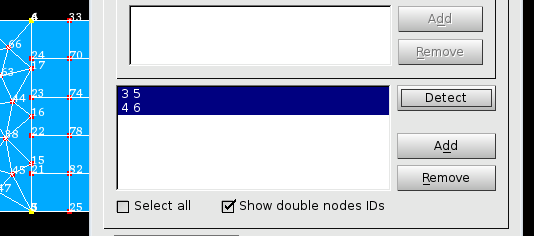
In practice the borders to sew often coincide and in this case it is difficult to specify the first and the last nodes of a border since they coincide with the first and the last nodes of the other border. To cope with this, merge coincident nodes into one beforehand. Two figures below illustrate this approach.
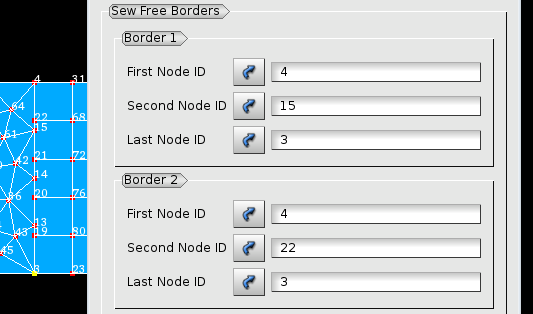
The sewing algorithm is as follows:

See Also a sample TUI Script of a Sew Free Borders operation.
This functionality can be used to unite two free borders of a 2D mesh.
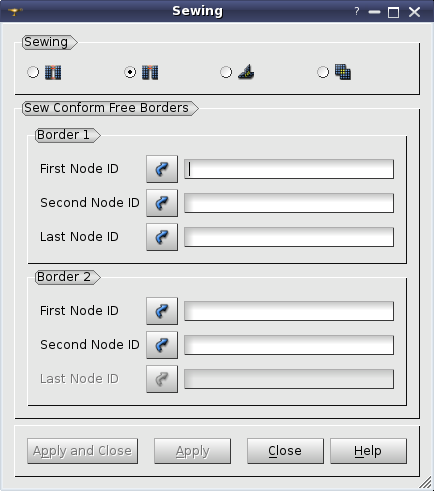
The borders of meshes for sewing are defined as for "Sew free borders" except that the second free border is not limited and can be defined by the first and the second nodes only. The first nodes of two borders can be the same.
The algorithm is following: counting nodes starting at the first ones, the n-th node of the first border is merged with the n-th node of the other border, until the end of either of borders. Nodes of the first border are replaced in all elements with corresponding nodes of the second border.
For sewing conform free borders you should define three points on the first border and two points on the second one. User can select these nodes in 3D viewer or define node by its id.

See Also a sample TUI Script of a Sew Conform Free Borders operation.
"Sew border to side" is intended to sew a free border to a mesh surface.
The free border is defined as for "Sewing of free borders". The place where to sew the border is defined by two nodes, between which the border faces are placed, so that the first border node is merged with the first node on the side and the last node of the border is merged with the second specified node on the side.
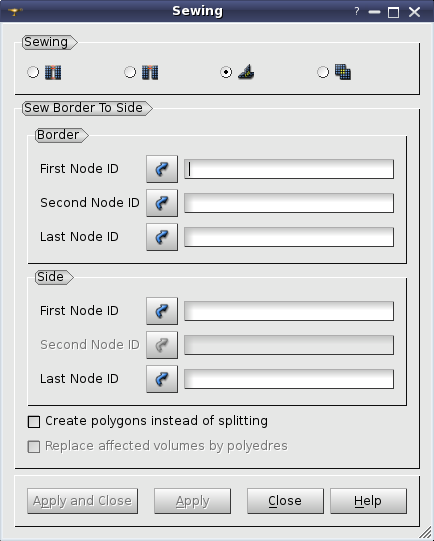
The algorithm is following.

See Also a sample TUI Script of a Sew Border to Side operation.
This operation is intended to unite two mesh surfaces.
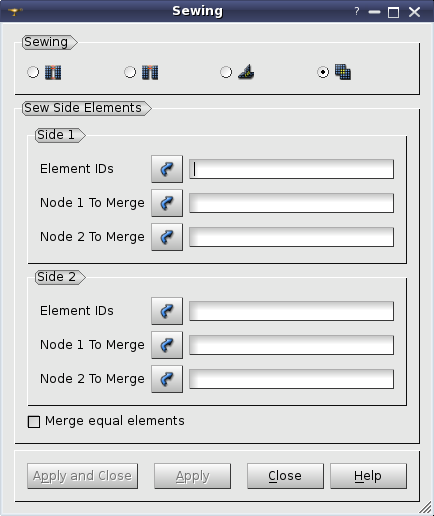
Surfaces may be defined by either 2d or 3d elements. The number of given elements of the sides must be the same. The sets of given elements must be topologically equal, i.e. each node of one element set must have a corresponding node in the other element set and corresponding nodes must be equally linked. If there are 3d elements in a set, only their free faces must obey to that rule.
Two corresponding nodes on each side must be specified. They must belong to one element and must be located on an element set boundary.
Sewing algorithm finds and merges the corresponding nodes starting from the specified ones.


For sewing side elements you should define elements for sewing and two nodes for merging on the each side. User can select these elements and nodes in 3D viewer or define them by its id.
See Also a sample TUI Script of a Sew Side Elements operation.